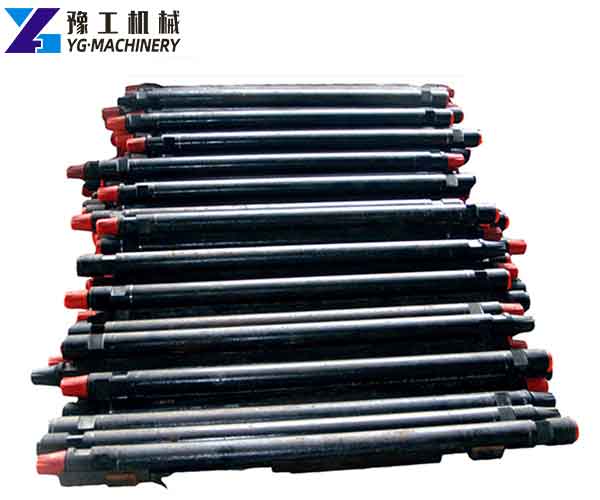
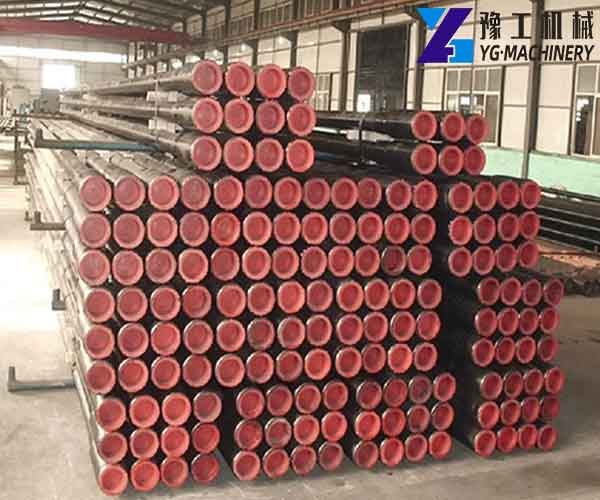
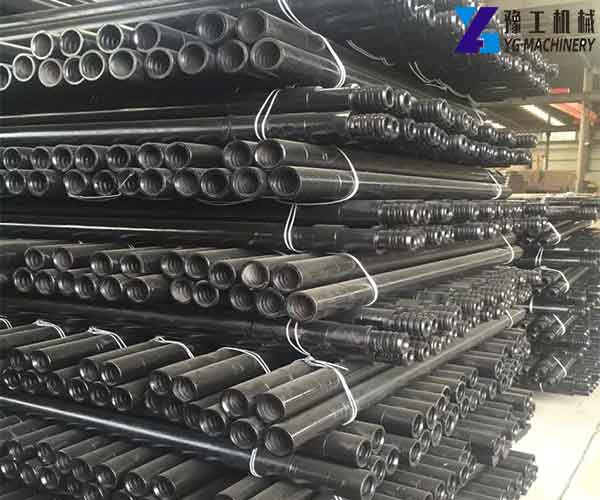
Henan YG Machinery mainly produces drill pipe testing equipment, rock drilling pipe, BQ, PQ, NQ, HQ, and AQ drill pipe, used for water well drilling rigs, core drilling rigs, geological exploration, and so on. Drill pipe for Sale in YG Machinery, welcome you email us!【WhatsApp/WeChat/Phone/Skype】+86 136 1385 6800
Drill Pipe Parameters:
| Diameter | Thread | Wall thickness | Length | Wrench flats | Weight | ||||
| Inch | mm | Inch | mm | Feet | m | Inch | Mm | ||
| 3 | 76 | 2 3/8″ | 0.217 | 5.5 | 4.92 | 1.5 | 2.244 | 57 | 22 |
| 3 | 76 | 2 3/8″ | 0.217 | 5.5 | 6.56 | 2 | 2.244 | 57 | 26 |
| 3 | 76 | 2 3/8″ | 0.217 | 5.5 | 9.84 | 3 | 2.244 | 54 | 35 |
| 3.5 | 89 | 2 3/8″ | 0.335 | 8.5 | 9.84 | 3 | 2.559 | 65 | 66 |
| 3.5 | 89 | 2 3/8″ | 0.335 | 8.5 | 13.12 | 4 | 2.559 | 65 | 79 |
| 3.5 | 89 | 2 3/8″ | 0.335 | 8.5 | 14.76 | 4.5 | 2.559 | 65 | 85.5 |
| 3.5 | 89 | 2 3/8″ | 0.335 | 8.5 | 16.40 | 5 | 2.559 | 65 | 92 |
| 3.5 | 89 | 2 3/8″ | 0.335 | 8.5 | 19.69 | 6 | 2.559 | 65 | 105 |
| 4 | 102 | 2 3/8″,2 7/8″ | 0.335 | 8.5 | 9.84 | 3 | 2.992 | 76 | 72 |
| 4 | 102 | 2 3/8″,2 7/8″ | 0.335 | 8.5 | 13.12 | 4 | 2.992 | 76 | 92 |
| 4 | 102 | 2 3/8″,2 7/8″ | 0.335 | 8.5 | 14.76 | 4.5 | 2.992 | 76 | 101 |
| 4 | 102 | 2 3/8″,2 7/8″ | 0.335 | 8.5 | 16.40 | 5 | 2.992 | 76 | 130 |
| 4 | 102 | 2 3/8″,2 7/8″ | 0.335 | 8.5 | 19.69 | 6 | 2.992 | 76 | 150 |
7 Features of YG Drill Pipes:
- Suitable for hard, very hard, and medium-soft rock formations.
- Reliable quality, long service life, rare and abnormal damage during service life.
- Good flushing effect to ensure a high drilling rate.
- Manufactured according to strict specifications using advanced processing technology.
- Made of cold-drawn seamless steel pipe, in line with international standards.
- The drill pipe is made of high-quality heat-treated material to ensure excellent strength, wear resistance, and toughness in the most demanding applications.
- The drill pipe and housing are manufactured to exacting industry standards and are field-tested under a variety of conditions.
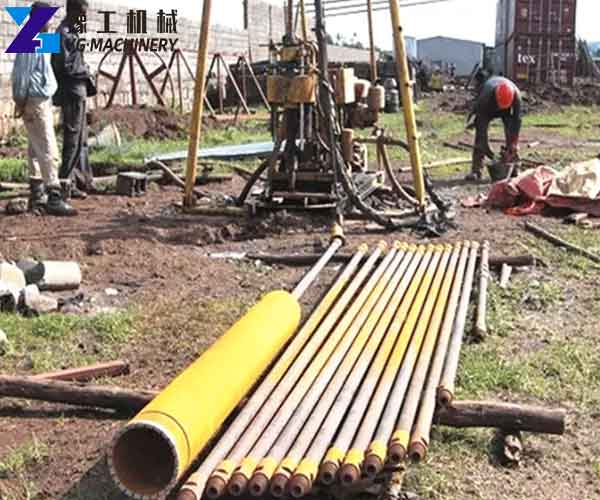
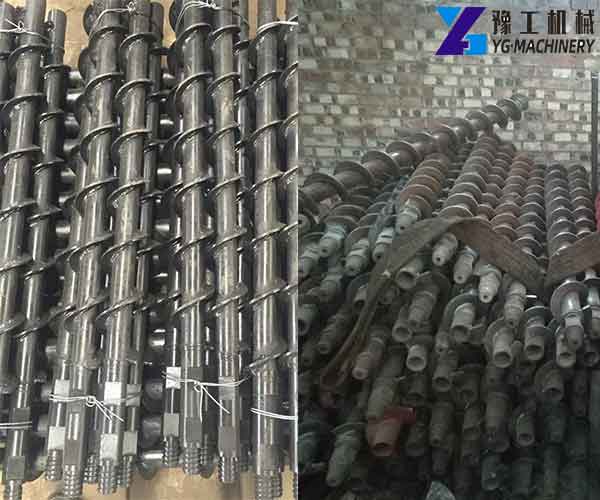
Drill Pipe Installation Methods:
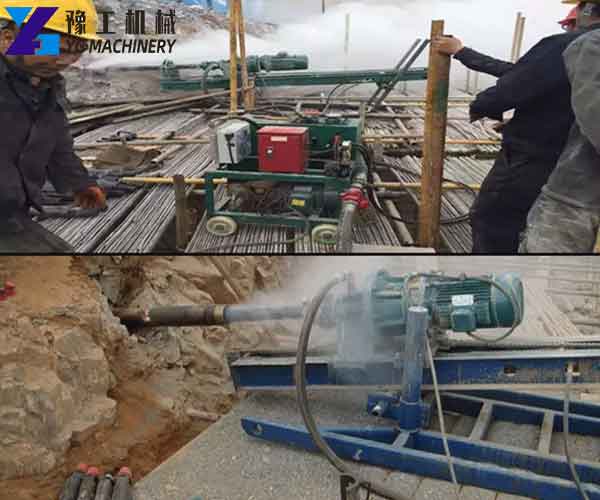
- Slowly hoist the drill pipe with the main hoist, let the follower rail surface align with the mast rail surface, pass through the powerhead key sleeve, then lower the mast to fasten the sliding ear; finally, stand again and install Drilling tools.
- Get on the car, position the drill, drive the powerhead to rotate, drive the drill to rotate, and drill. When encountering the hard soil layer, press the drill pipe until it fills 2/3 of the drill, then lift the drill.
- When lifting the drill, the powerhead reverses 1~2 turn to close the bucket door; at the same time, the main winch and the powerhead are raised, and the drill is raised from the hole.
- When using the machine-locked drill pipe, use the powerhead to lift the drill pipe by 0.3~0.5 meters (mainly hoisting), after reversing 2~3 turns, then use the main hoist to lift the drill pipe and remove the drill pipe from Presented in the hole.
- Turn the car up to the unloading position, press down on the powerhead, open the bucket door, and pour the soil out.
Precautions When Installing the Drill Pipe:
- When installing the drill pipe, the action should be slow, and the drill pipe should not be caused to collide with the powerhead and the mast.
- When installing the drill, do not use the square head to push the drill.
- When the protective tube is lowered, the square head shall not be used to push the protective tube.
- The drill pipe shall not be installed on the rig for long-distance transportation and transfer work.
- Avoid loosening the mast in the history of installing the drill.
- Do not violently hit the drill pipe.
- During the lifting process, when the rod is found, the mast should be lowered, the unlocking operation should be performed again, and then the drill rod should be lifted.
- Do not force the powerhead to reverse unlock when the rod is found to avoid damage to the drill pipe.
Failure Type Analysis and Prevention of Drill Pipe:
Artificial damage:
- Reasons for the occurrence: Due to the unintentional operation, the drill pipe is artificially damaged.
- Failure characteristics: Damage caused by irregular operations such as bumping, fire roasting, sled hammering, pinching, scratching, etc. during handling.
- Preventive measures: Standardize the use and strengthen inspections.
Thread break:
1. Reason for the occurrence:
- Due to insufficient tightening torque when the drill pipe is connected, the large end 1-3 buckle of the thread is fatigued and cracked during use, the crack spread penetrates the wall thickness, and a piercing accident occurs, which is found to be broken in time.
- The joint thread parameters are unqualified or the material strength is unqualified.
- The radius of curvature in the hole is not enough.
- The end face of the joint has burrs, and the end faces of the male and female joints cannot be closely attached to the force transmission.
2. Failure characteristics:
In the case of batch failure, micro-cracks can be found in the magnetic particle inspection.
3. Precaution:
- Control the upper buckle torque.
- Use qualified threaded oil.
- Strengthen the quality control of thread processing and materials.
- Pay attention to the maintenance and repair of the drill pipe.
Tube bending:
1. Reason for the occurrence:
- The rig is too far away from the soil point.
- The thrust is large, and there are holes and silt in the striatum.
- The radius of curvature in the hole is too small.
- Reverse the reamer reaming when expanding the hole.
2. Precaution:
- Standard construction and exposed drill pipe reinforcement protection.
- Always pay attention to the environmental changes in the hole.
- Control the radius of curvature inside the hole.
Drill Pipe Decomposition and Bonding:
-
Decomposition:
- Place the drill pipe flat on the ground, then remove the semi-circular baffle bolt on the innermost section of the drill pipe and remove the semi-circular baffle.
- Pull the innermost section directly from the square head end.
- Then, the remaining inner segments are first ejected from the square end and then pulled out by the follower end.
-
Combination:
- Put the repaired drill rods together and set the first section to be stable.
- Then, the inner segments are sequentially loaded into the drill pipe from the follower end.
- Finally, the innermost section is loaded into the drill pipe from the square end.
- Fix the semi-circular baffle with the hexagon socket bolts in the fixing groove of the innermost drill pipe.

